 ( 116 ) 17-Feb-2013
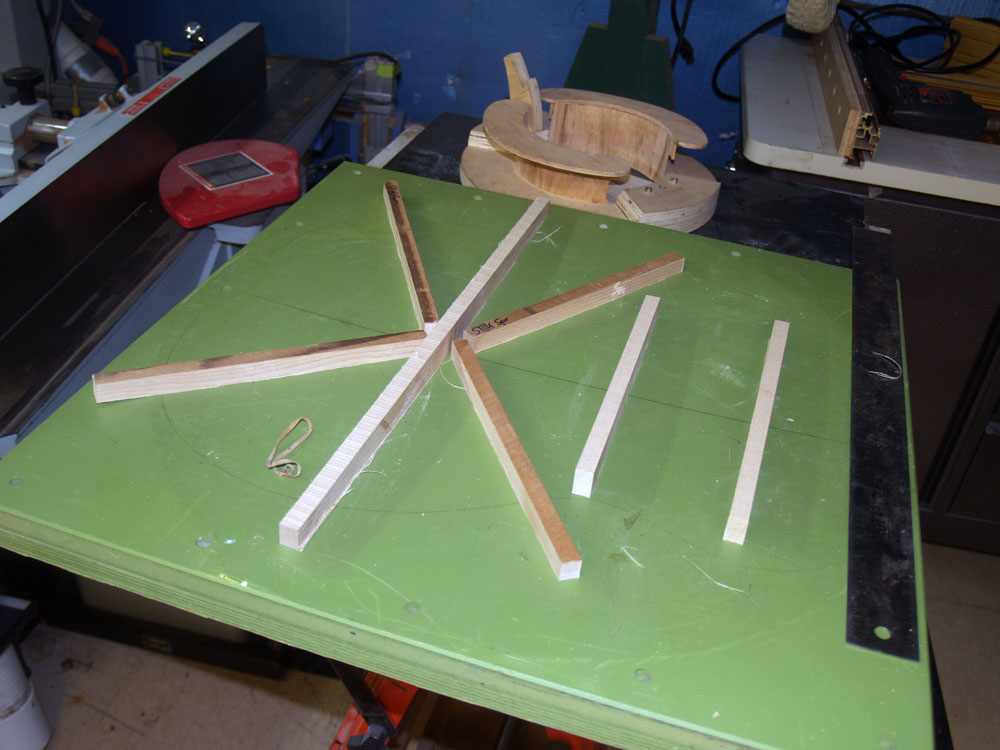
Now I turn my attention to making the braces. Here I am laying out my set of templates.
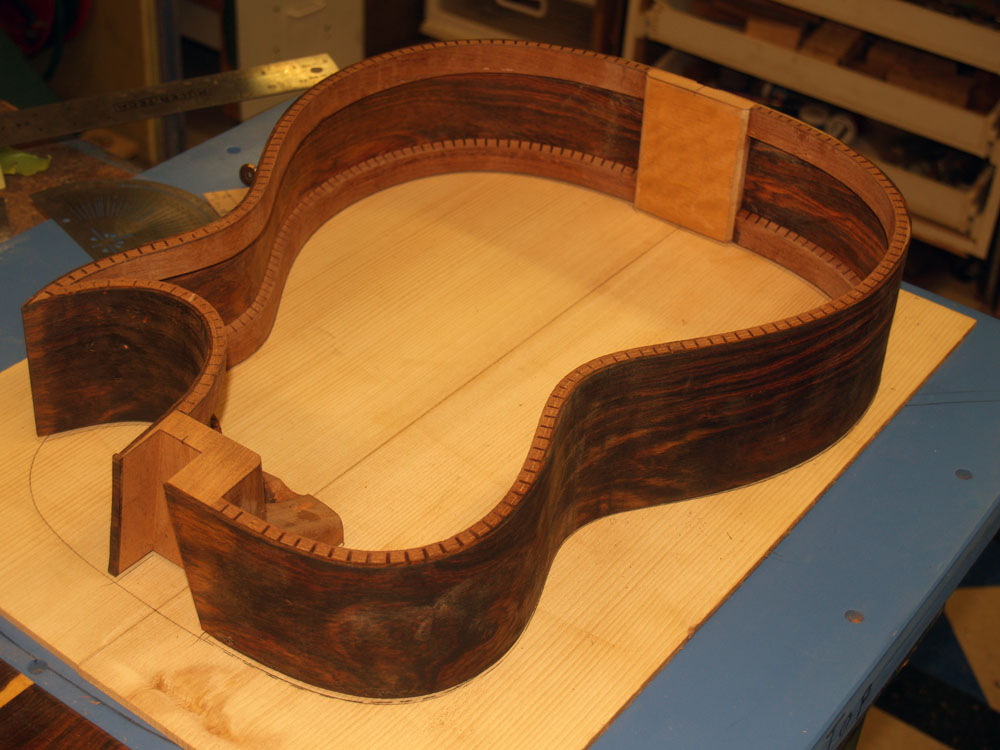
Cocobolo Body 15 inch lower bout
Adirondack Spruce Top
Lion Theme Marquetry
Mahogany Neck
Ebony Fretboard
Gold Frets & Gotoh Tuners
Padauk
Binding
25.4 Inch Scale Length
( 116 ) 17-Feb-2013
Now I turn my attention to making the braces. Here I am laying out my set of templates.
 ( 117 ) 17-Feb-2013
I use a sanding guide to shape the bottom of the braces. The braces need to fit the shape of the sanding bowls that have te shape of the top and back..
 ( 118 ) 17-Feb-2013
Here I have mounted a brace blank on to the sanding guide.
 ( 119 ) 17-Feb-2013
I lay out the brace blanks on the sanding bowl. The green bowl is for the back, and the blue bowl is for the top.
 ( 120 ) 17-Feb-2013
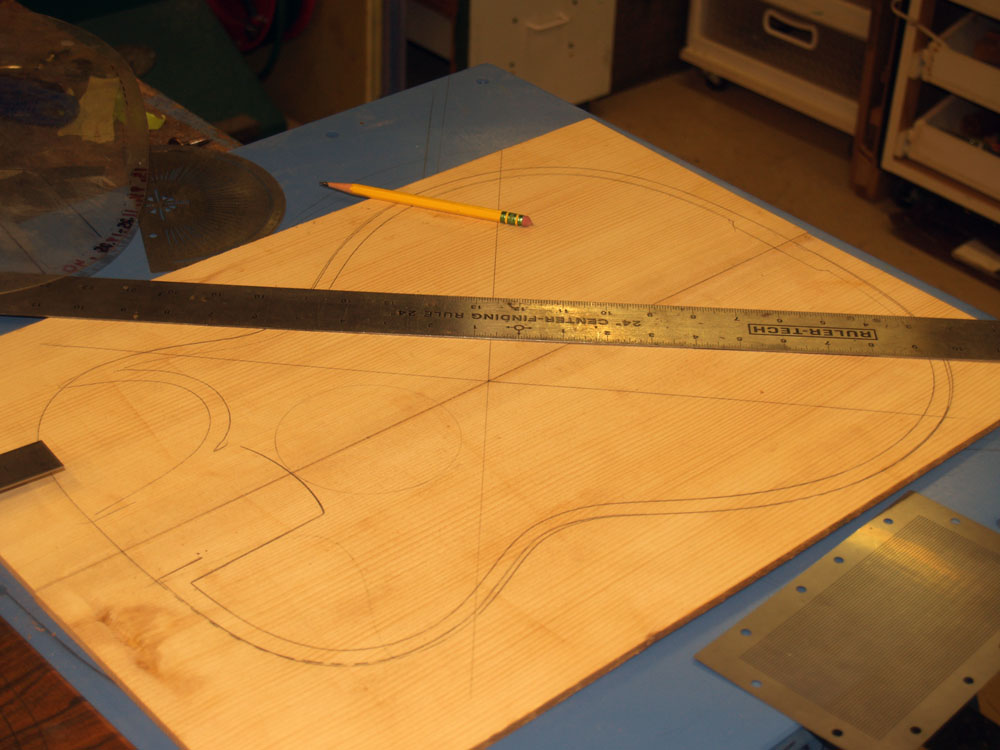
I trace the outline of the rim onto the back plate so I can cut the brace blanks to their proper lengths.
 ( 121 ) 17-Feb-2013
I mark the layout of the braces.
 ( 122 ) 17-Feb-2013
I do the same thing for the top plate.
 ( 123 ) 17-Feb-2013
 ( 124 ) 17-Feb-2013
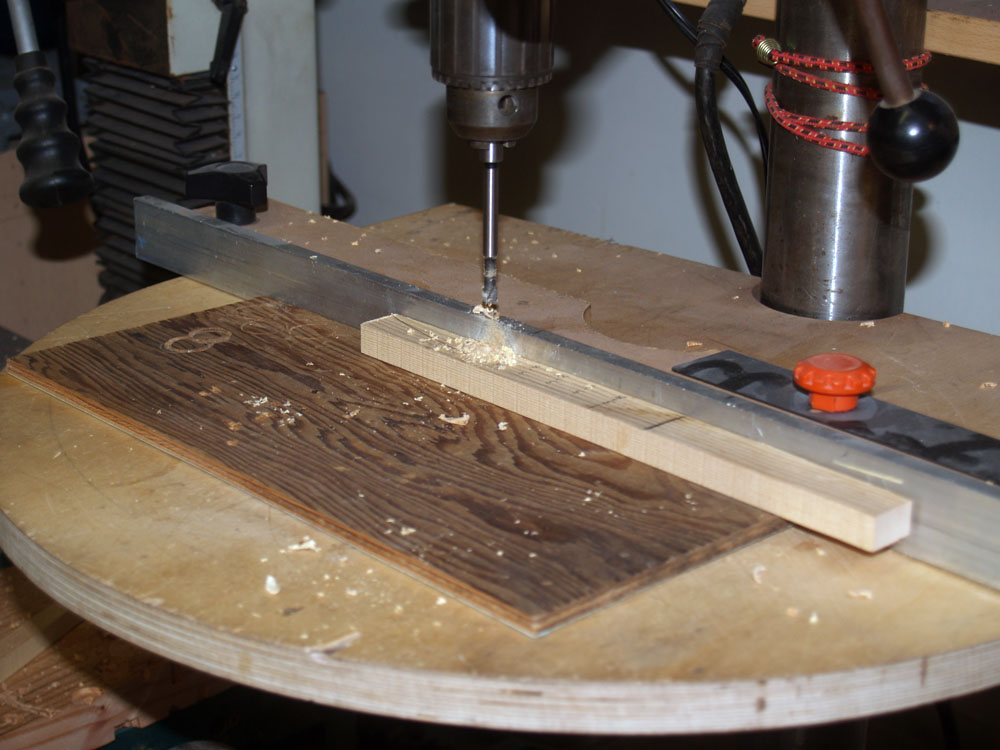
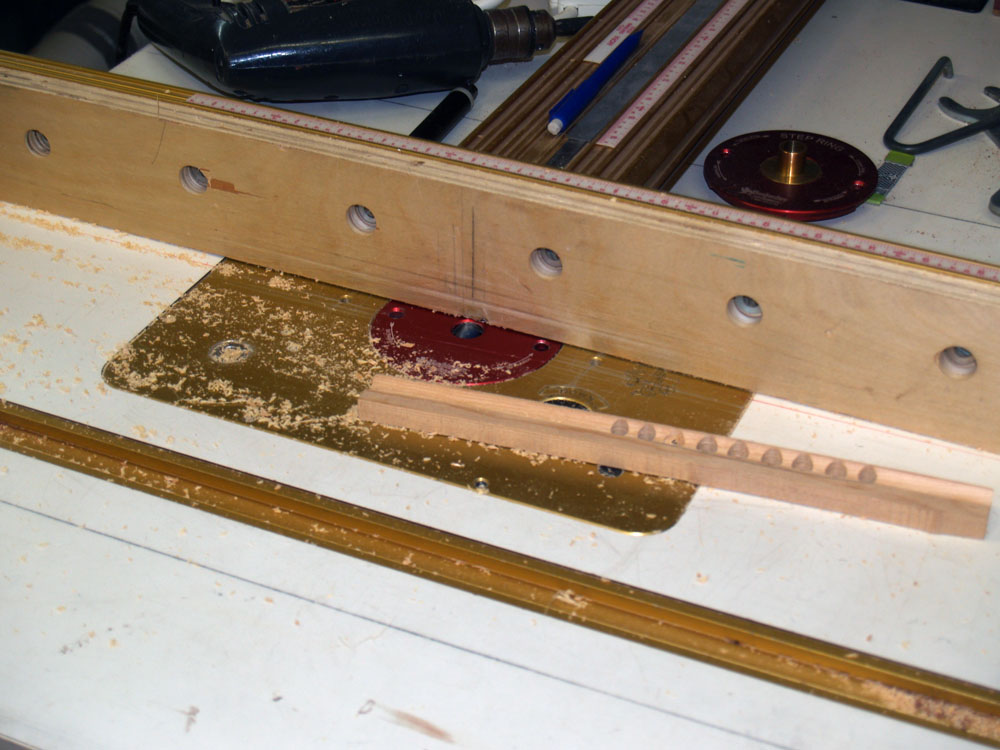
Now back to the braces. To reduce the mass of the braces while maintaining their stiffness I make my braces into something similar to aircraft struts. Ultimately the braces will have an I-beam cross section with circles cut out of the webbing. Here I am drilling out the holes.
 ( 125 ) 17-Feb-2013
Lots of holes.
 ( 126 ) 17-Feb-2013
Next I use my router table to route out the I-beam channel.
 ( 127 ) 17-Feb-2013
 ( 128 ) 17-Feb-2013
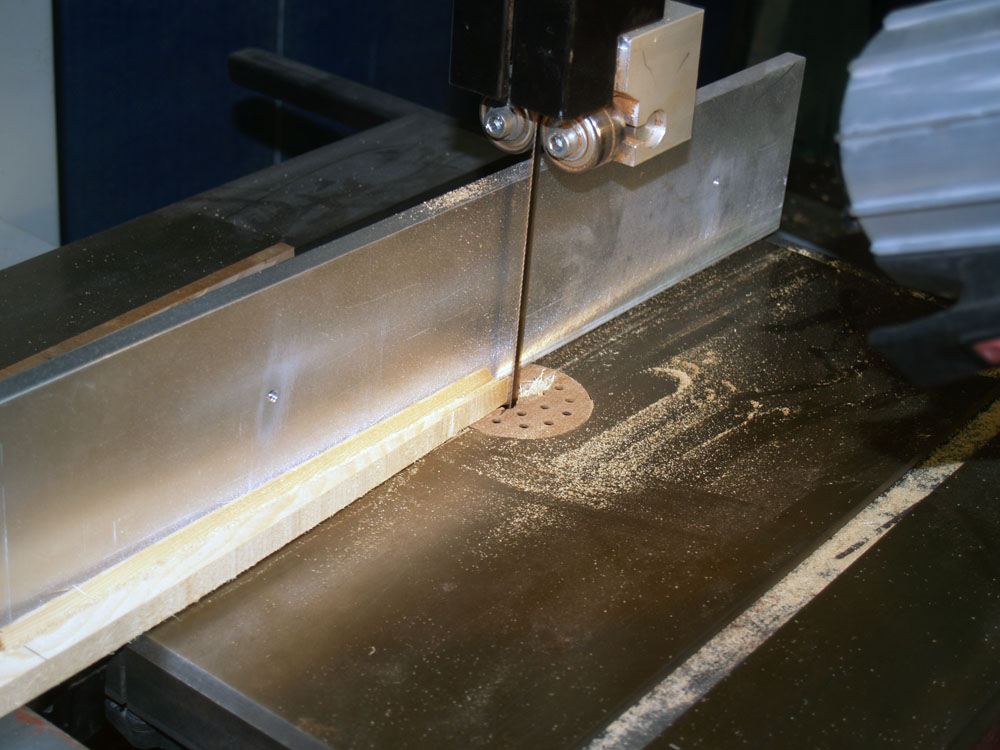
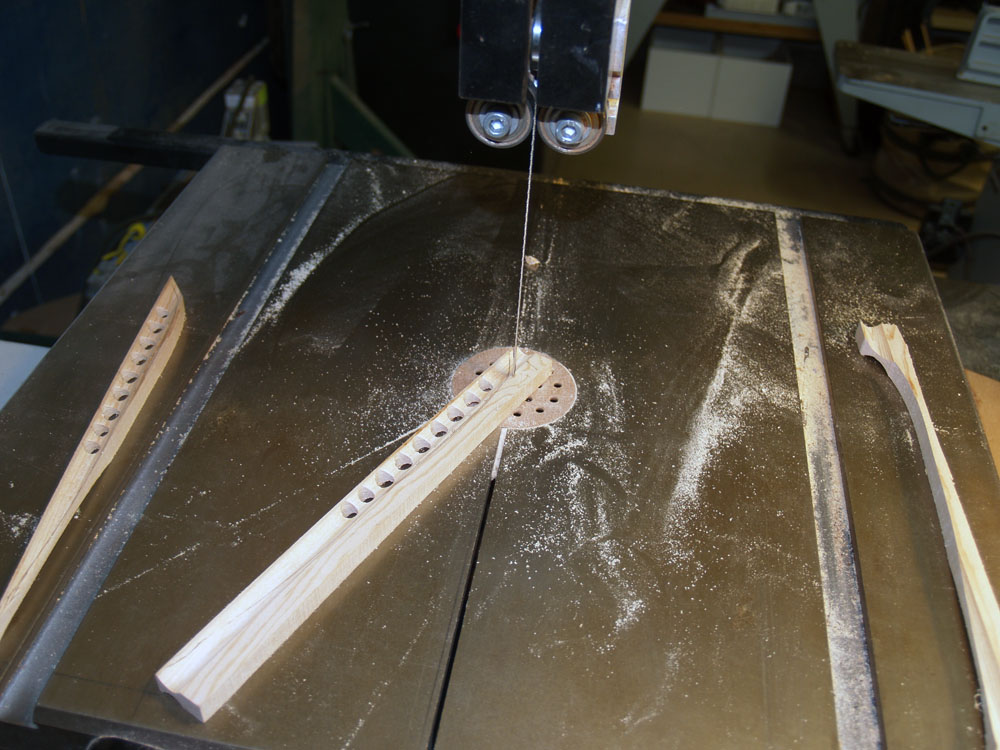
For the main X-braces I use my bandsaw to trim the brace blanks.
 ( 129 ) 17-Feb-2013
And my oscillating sander makes the height consistent.
 ( 130 ) 17-Feb-2013
The X-braces get a notch cut out using the bandsaw.
 ( 131 ) 17-Feb-2013
A good fit, snug but not overly tight.
 ( 132 ) 17-Feb-2013
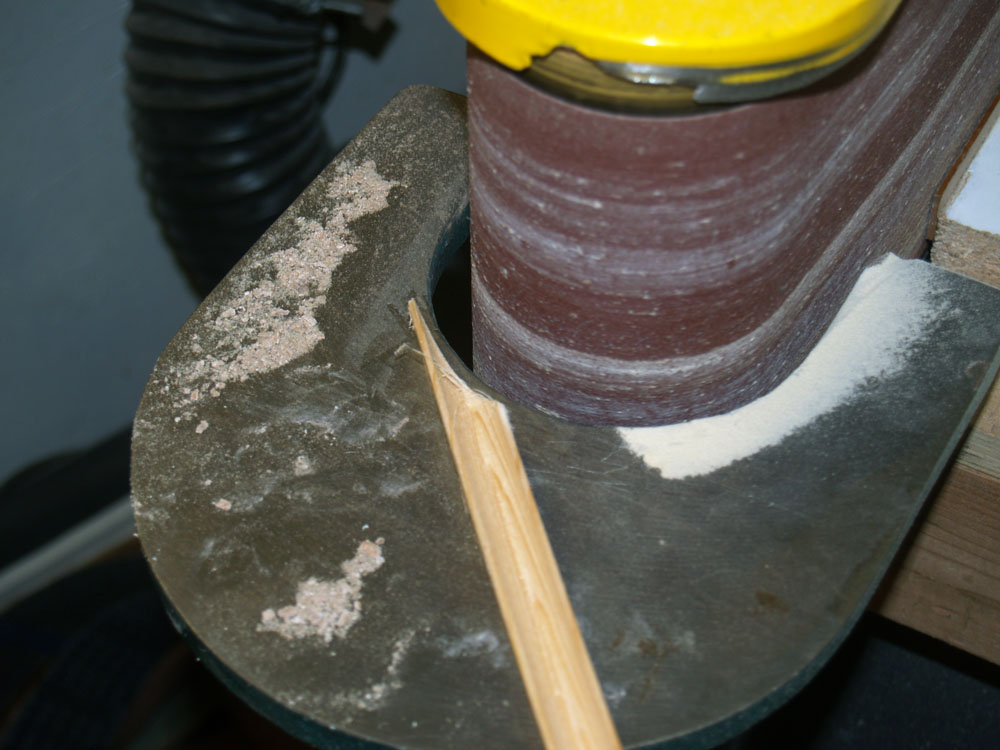
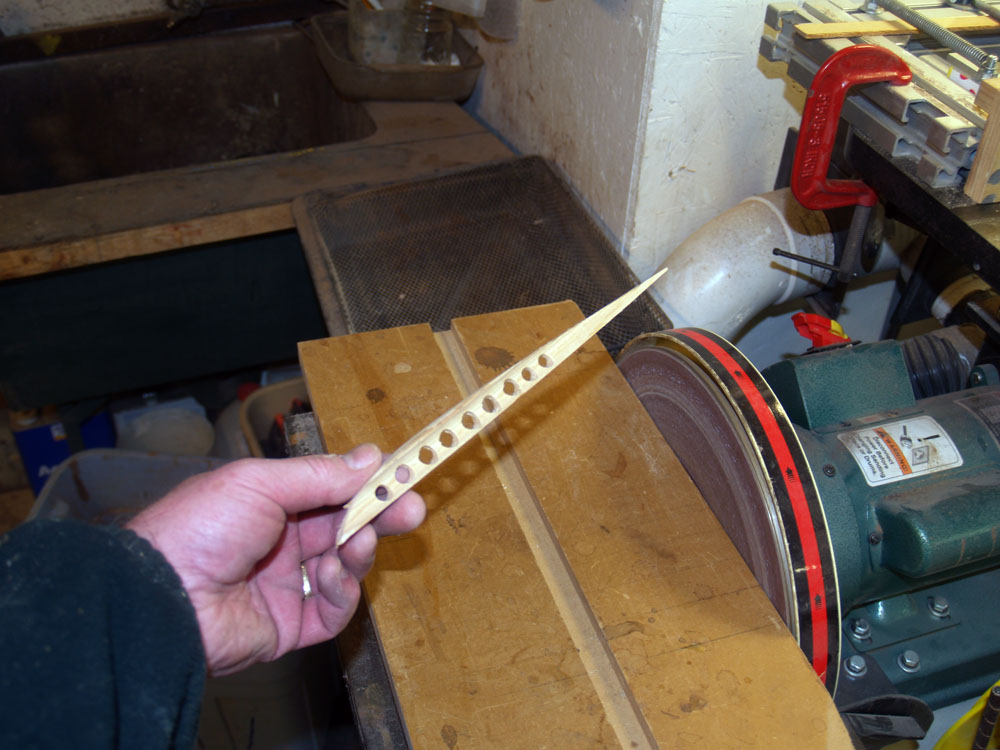
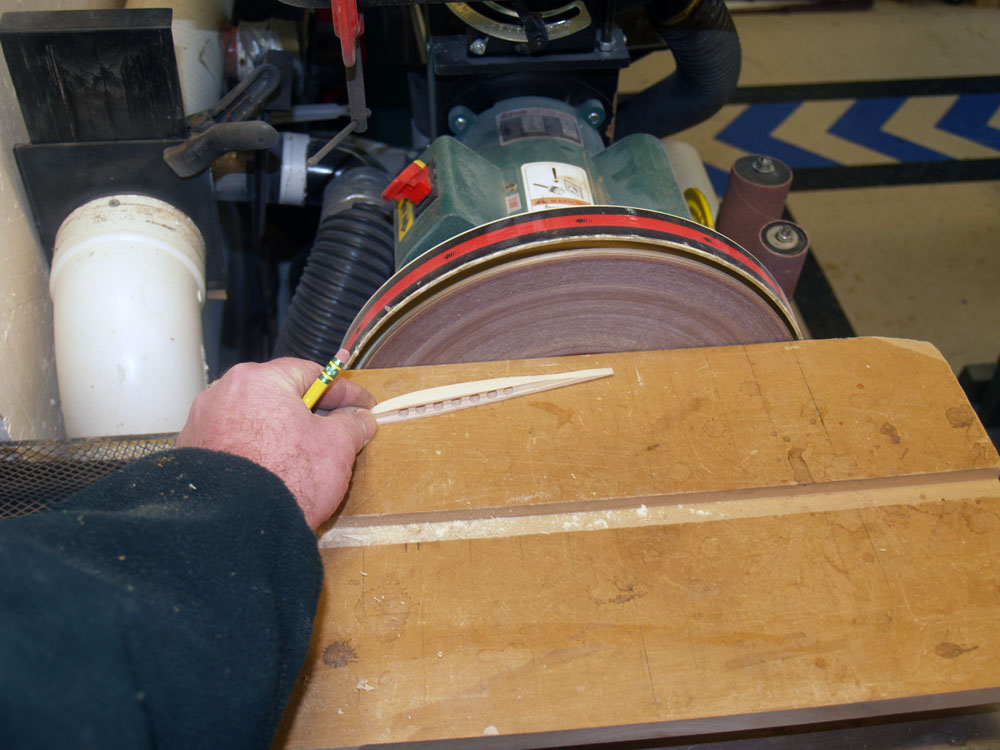
Now I start to shape the X-braces using my belt sander.
 ( 133 ) 17-Feb-2013
The two legs of the X-brace are asymmetric. The bass leg of the brace is trimmed so that it will be less stiff than the treble arm of the brace. This asymmetry will broaden the frequency response function of the guitar helping to create a more even set of tones across the fretboard.
 ( 134 ) 17-Feb-2013
The treble leg is stiffer than the bass leg.
 ( 135 ) 17-Feb-2013
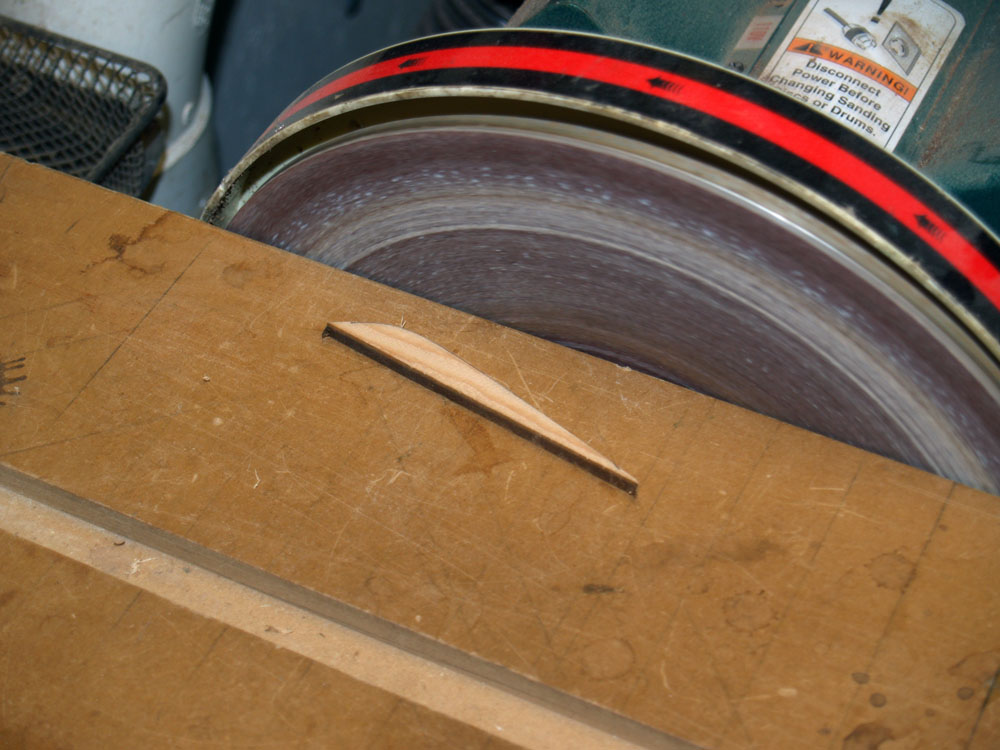
I use the bandsaw to rough out the tops of the braces.
 ( 136 ) 17-Feb-2013
And my disk sander finishes up the job.
 ( 137 ) 17-Feb-2013
 ( 138 ) 17-Feb-2013
Here we I have laid out the braces on the top to make sure they fit.
 ( 139 ) 17-Feb-2013
Working on shaping the finger braces.
 ( 140 ) 17-Feb-2013
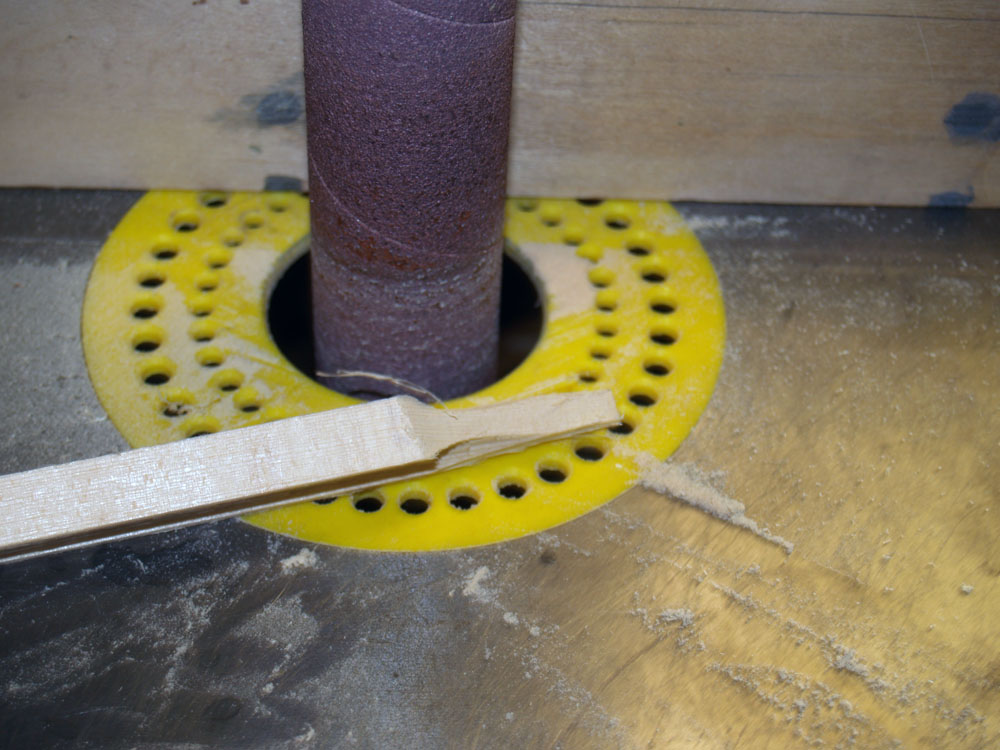
I use my oscillating sander with a small cylinder to create the I-beam profile.
 ( 141 ) 17-Feb-2013
 ( 142 ) 17-Feb-2013
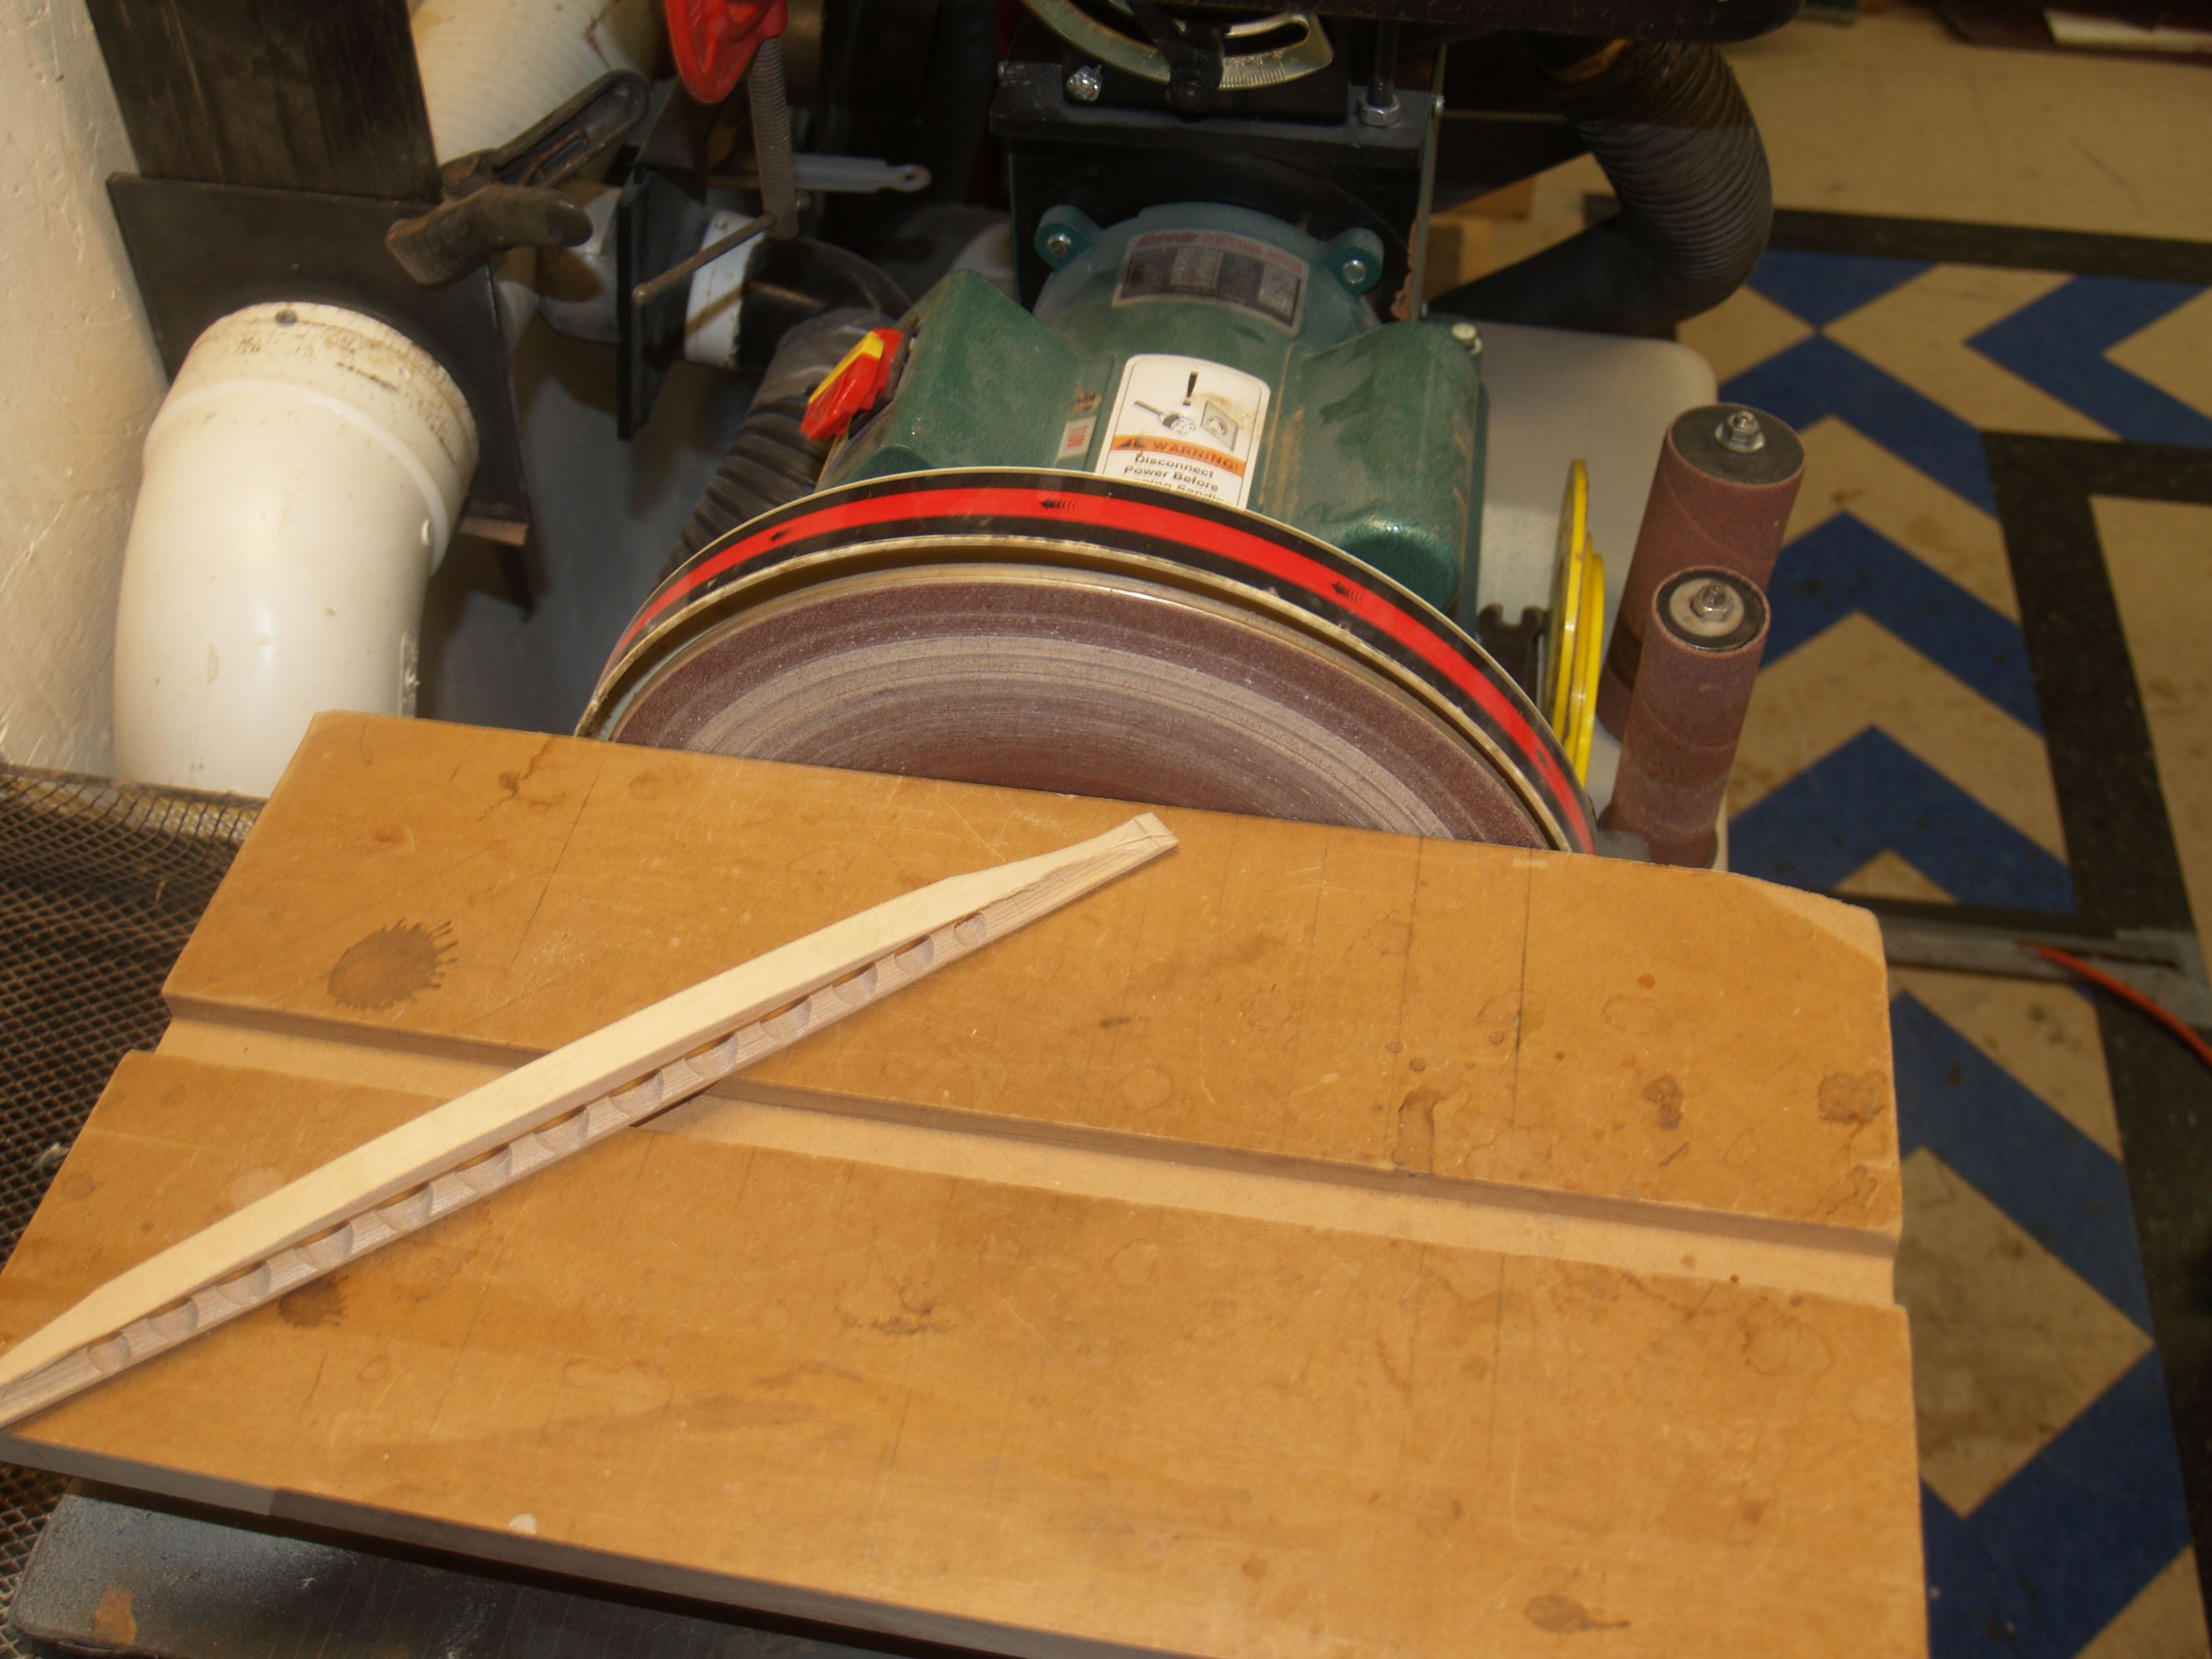
The end of the A-frame portion of the top braces get profiled so they fit together.
 ( 143 ) 17-Feb-2013
And back to the disk sander for more shaping.
 ( 144 ) 17-Feb-2013
 ( 145 ) 17-Feb-2013
Here I have laid out the back braces, one more time.
 ( 146 ) 17-Feb-2013
I use my drum sander to reduce the thickness of the back plate. Cocobolo is a very heavy wood and I don't want it any thicker than necessary.
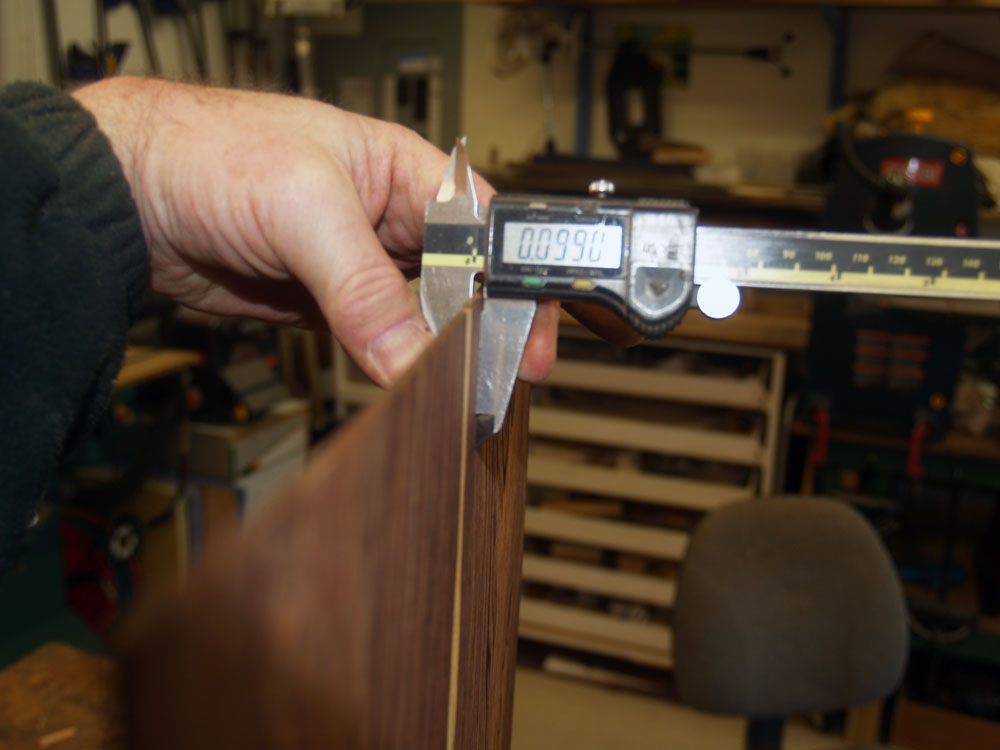 ( 147 ) 17-Feb-2013
Very nearly 100 mils thick. When the guitar is finished the back will end up being about 90 mil thick.
 ( 148 ) 17-Feb-2013
The drum sander leaves sanding marks, so I use a palm sander to remove them.
 ( 149 ) 17-Feb-2013
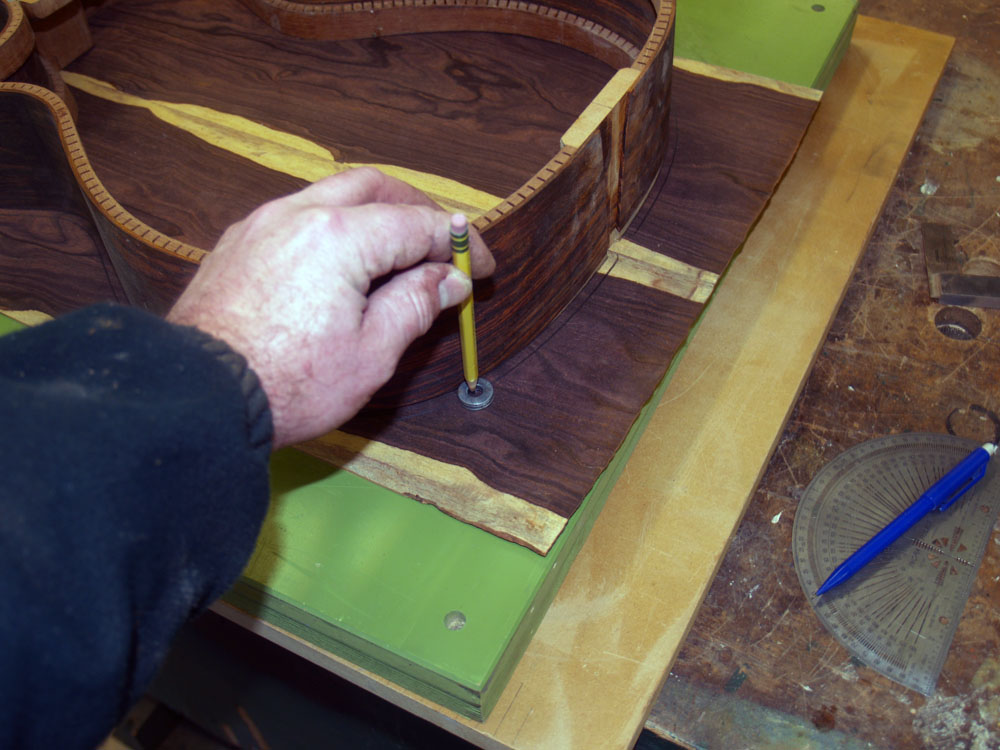
One more time marking out the rim profile. The washer gives me 1/4 inch extra. This will be trimmed off after it is glued to the rim.
 ( 150 ) 17-Feb-2013
And laying out the the braces once again to check their fit. It was a beautiful spring day when I was working on this and you can see the sun shining in my open garage door. Hey, we get 300 days of sunshine in Portland, beleive me, I wouldn't fib to you now would I.
 ( 151 ) 17-Feb-2013
Now with the braces shaped I spend time sanding them smooth... Wayne Henderson will tell you that this helps the notes get out of the guitar better... who am I to argue with Wayne Henderson.
 ( 152 ) 17-Feb-2013
A bit of hand work with a piece of sandpaper.
 ( 153 ) 17-Feb-2013
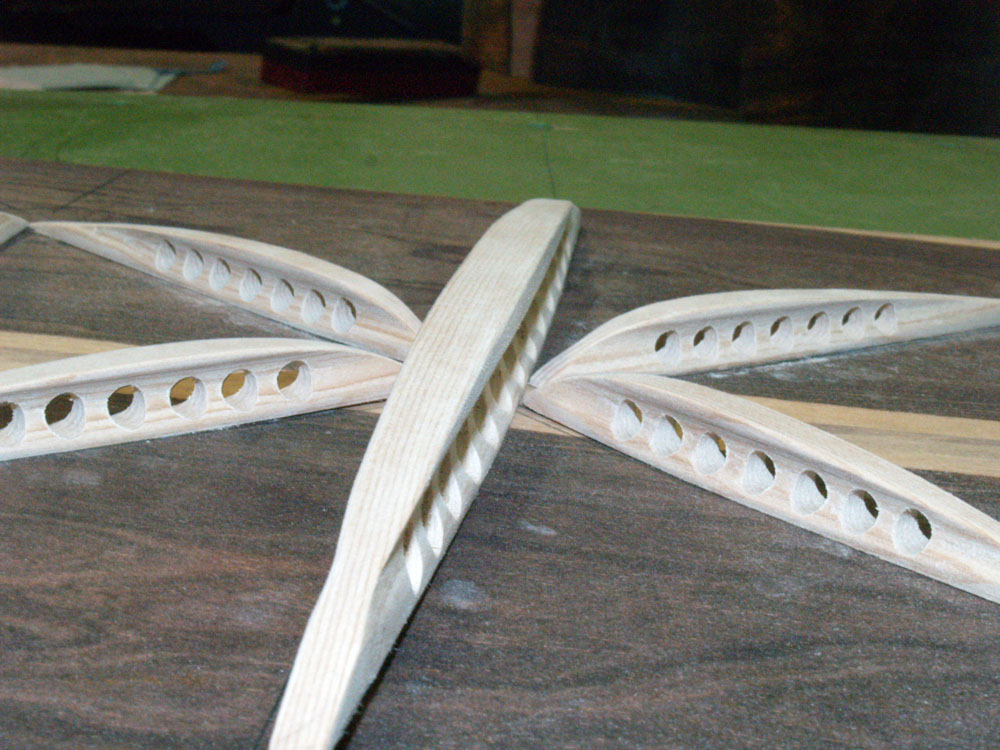
When I am finished we end up with little bits of beautifully sculpted spruce. Following are a few art shots of the back braces.
 ( 154 ) 17-Feb-2013
 ( 155 ) 17-Feb-2013
Description
 ( 156 ) 17-Feb-2013
 ( 157 ) 17-Feb-2013
 ( 158 ) 17-Feb-2013
 ( 159 ) 17-Feb-2013
 ( 160 ) 17-Feb-2013
 ( 161 ) 17-Feb-2013
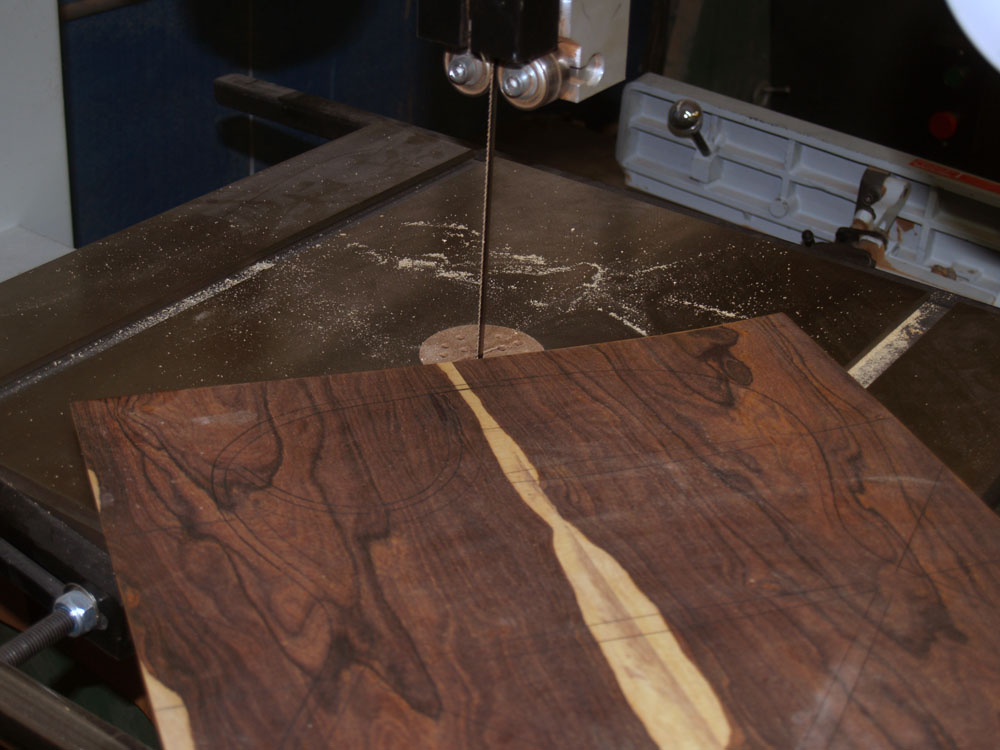
Now I am ready to rough out the back plate with my bandsaw.
 ( 162 ) 17-Feb-2013
Cocobolo is a very oily wood. To ensure we get a good glue joint the oils near the surface need to be prepared. Alcohol is used to wipe down the surface causing the oils to crystallize. This will allow the glue to penetrate the surface and form a good bond.
 ( 163 ) 17-Feb-2013
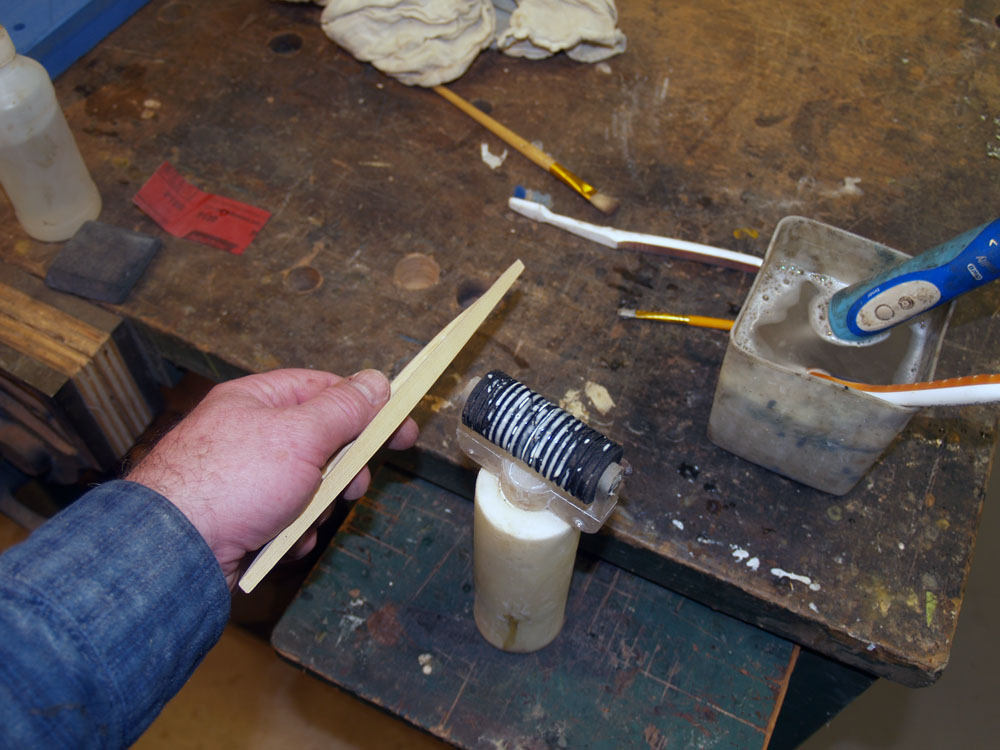
I like to apply a stoichiometric amount of glue to the bottom of the braces... not too little, not too much.
 ( 164 ) 17-Feb-2013
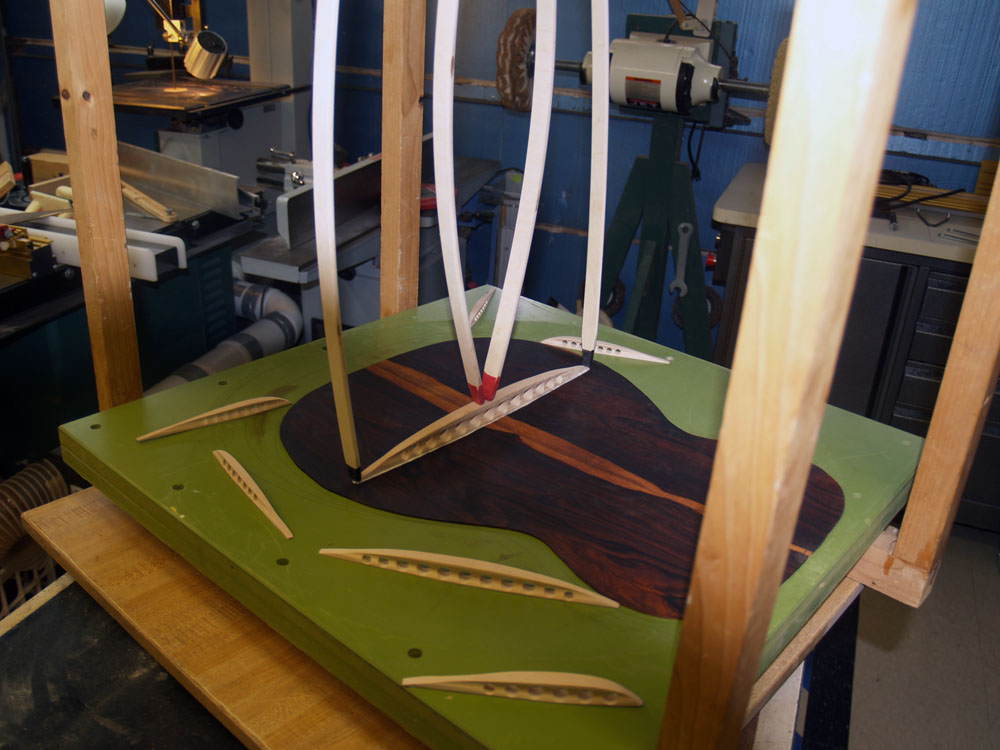
To glue the braces in place I use a go-box and go-sticks. The back plate is centered in the sanding bowl that has the shape of the back I am after. In this case the bowl has a 16 foot radius of curvature. The go-sticks press the braces into the back and the back into the bowl.
 ( 165 ) 17-Feb-2013
Lots of go-sticks. The sticks with the black tips are stiffer than the sticks with the red tips. The tips are made of rubber so I don't crush the braces.
 ( 166 ) 17-Feb-2013
After the glue cures over night. I won't remove the cutaway section until I am ready to glue the back onto the rims.